You are now challenged to teach students the Common Core Standards, yet you have the same resources you’ve always had while your students are drastically different than those of the past. What do you do?
In today’s classroom, it is absolutely key that your lessons be engaging. Students can no longer sit still for an hour (or more) listening to teacher-directed instruction. They must be involved. They must be moving. They must be drawn to participate!
One
thing a teacher must remember is that your students are still kids.
Elementary, middle or high, they are all still kids, who just love to
play. I can’t tell you how many high school football players I have
heard squeal with joy when they saw I planned to read to them at my
carpet time station or when they realized we were doing “one of those
things you do” in my class that day.
So here’s my fun and engaging idea of the day:

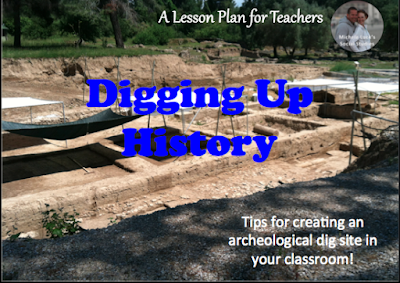
Transform your classroom into an Archeological Dig!
This can be used in ANY classroom with any subject area. Create the
dig, design (or purchase) activity cards, bury the cards, and let the
activity begin. What could be better for a cross-discipline lesson?
Just think about the possibilities!
- Create a square frame in your classroom or outside. Use wood,
cardboard, or any materials available that will hold the structure.
Make the frame as large as you desire, based on the number of students
you will have digging at a time. - Fill the frame with dig material. I often used shredded paper I
collected from the Guidance Office shredder! You could use sand if you
are really daring, but I would suggest something more long-lasting and
reusable. Another easy use item is (uncooked) beans or rice. Scoop it
all up at the end and place it all in a big crate for the next time you
dig! - Quadrant off the dig site. You could have this step complete before
the activity, or make it a math lesson for students to complete. - Assign your students to teams and provide directions for the
activity. It is a really good idea to reinforce your classroom rules at
this point, reminding students about safety and fair play. - Allow students to dig! Use dig cards that provide information or
pose problems for students to solve. Encourage students to work
together in their assigned teams to complete task cards or to discuss
the information they gather. - Wrap-up the activity by reviewing the content and asking appropriate questions for content analysis and evaluation.
- Clean up! Involve your students in this step. Its a valuable
lessons all students should learn before they go off to college! 🙂
 |
| Chinese Dynasties Archeological Dig Product Link |
 |
| American Colonies Archeological Dig Product Link |
Easy, Content-filled, and ENGAGING! What could be better for a spring activity?!
Be sure to see my other How-To Series topics on my blog and visit my TpT Store for engaging, content strong lessons!


Happy Teaching!